
Elevate Your Look: 4 Steps Brow Tutorial, Transforming Thick Brows into French Soft Mist Brows
Eyebrows are often the first makeup step for beginners, yet many find it challenging even after some practice. The technique of shaping eyebrows is closely tied to the natural state of your brows, especially for those with naturally thick brows. Using the traditional "filling" method can lead to brows looking even thicker, resembling crayon drawings like Crayon Shin-chan.
Today, we'll share some eyebrow techniques tailored for those with naturally thick brows, demonstrating how to achieve soft, misty French brows suitable for light makeup.
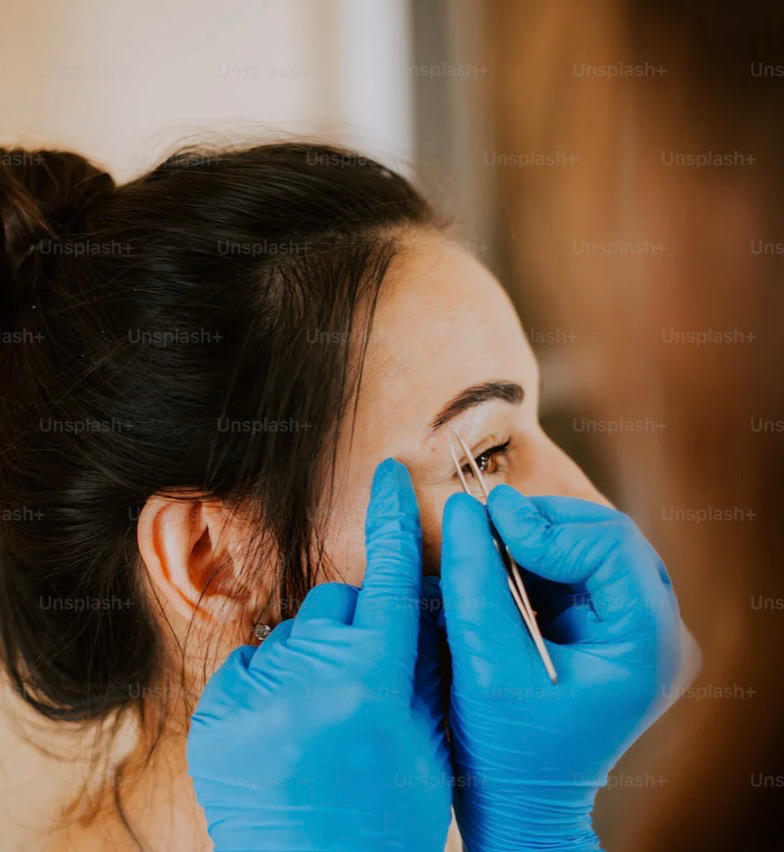
STEP 1: Trim + Thin Out the Brows
Firstly, let's trim the eyebrows. For thick brows, shape them according to your desired form and remove excess hair around them. Use eyebrow scissors and a brush to trim the surplus, ensuring the brows look neat.
Next, use rounded beauty scissors to trim the longer parts of the brow's tail. If your eyebrows are naturally short, you can skip this step. Lastly, use tweezers to precisely remove obvious stray hairs, making the brows shorter and thinner for the subsequent eyebrow application.
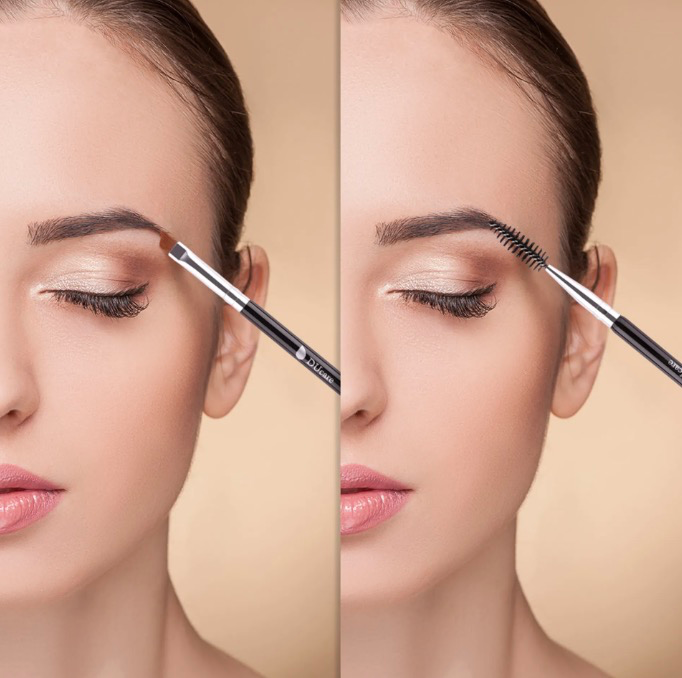
STEP 2: Apply Base Color
With the eyebrow contours in place, it's time to move on to the "eyebrow application" stage. To achieve "Korean-style soft mist brows," you'll need eyebrow powder and an ultra-fine eyebrow pencil.
Start with a small, Eyebrow Duo Brush Single Pack—compact but softer than a standard eyeshadow brush to create that misty effect. Dip it in eyebrow powder. Begin by placing the first stroke in the darkest "triangle area" beneath the front half of the brow. Use a back-and-forth blending technique to gradually spread the color, filling the entire brow and covering any gaps. Extend the color slightly beyond the actual brow range. Ensure the color is "darker below, lighter above."
STEP 3: Fill in the Gaps
Use an eyebrow pencil matching your brow color to fill in the gaps that affect the brow shape, such as the lower part of the front half, the tail, etc. You don't need to fill in too much; just draw a few strokes. For example, if you want to change an arched brow to a straight one, add a few strokes at the bottom. For lengthening the tail, add a few strokes at the end. A few strokes at the brow peak, and you're good to go.
STEP 4: Mimic Details
If you prefer a lighter makeup look or are less concerned about details, you can stop at the third step. For those seeking perfection, simulate the look of longer brow hairs using an eyebrow pencil along the brow ridge to create a slightly darker, longer line.
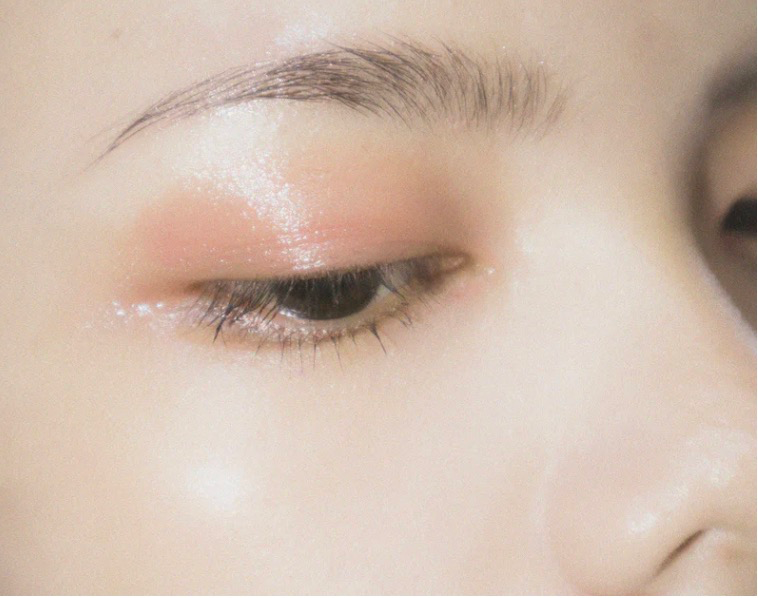
Finally, use the remaining powder on the detailed eyeshadow brush to sweep over the entire brow, blurring the edges and achieving a French brow with a central focus, depth, and a soft misty effect.
Now you have a set of French-inspired brows with a touch of soft mist, perfect for a sophisticated look!